New here? This article continues from Part 1: Printed or Handwritten — Why Scan Quality Decides Everything . If you haven’t read it yet, start there to understand why scan quality determines everything that follows.
Let me be direct with you — most scanning problems don’t come from the scanner. They come from what happens before the scan.
Over the years, I’ve seen excellent research material become difficult to convert simply because the pages were not prepared properly.
Fragile Books That Cannot Be Flattened
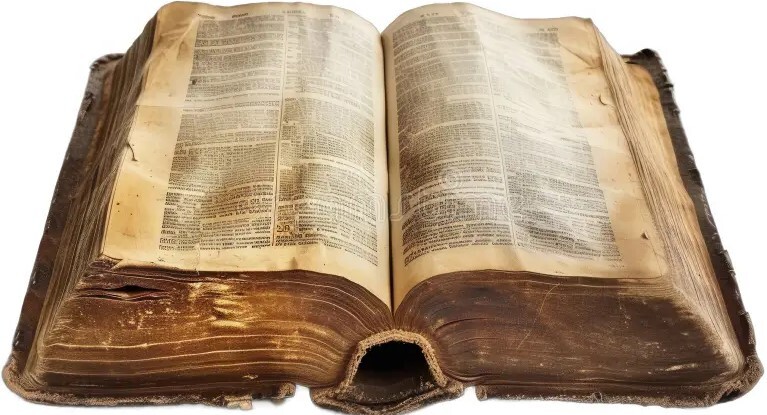
Old academic books often have tight bindings and brittle paper. Forcing them flat creates spine damage and dark gutter shadows that hide text. Once text disappears into shadow, both OCR and manual typing slow down.
The Shadow from Book Bindings
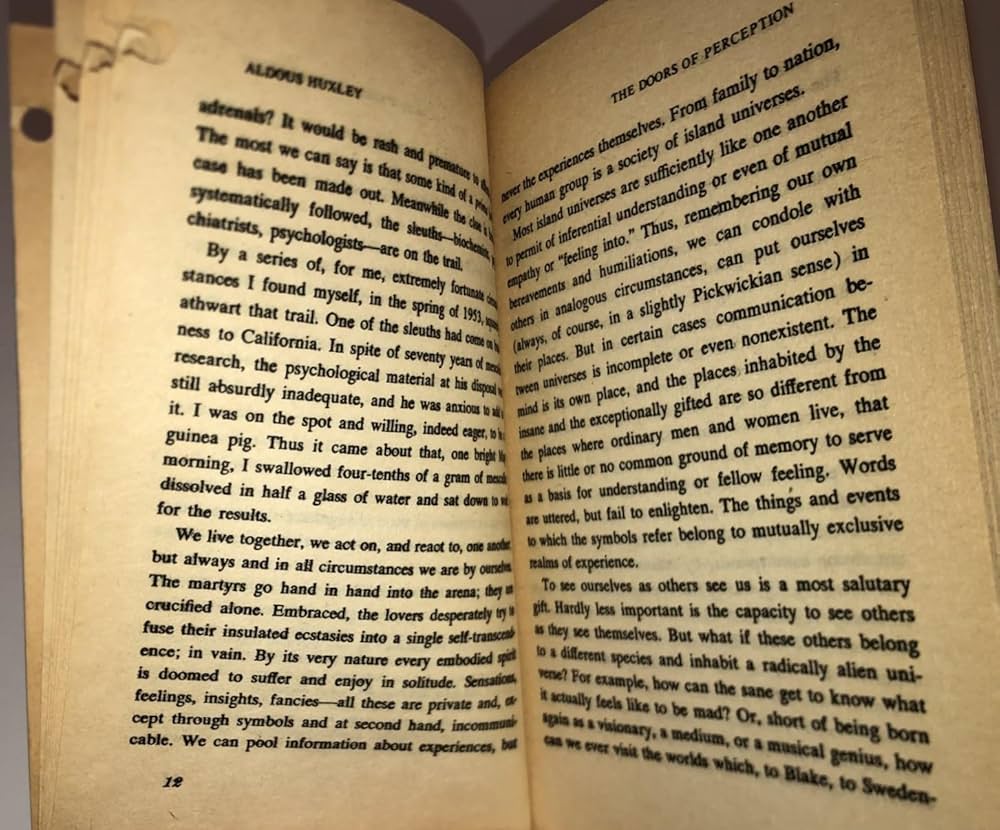
When scanned without proper alignment, the inner margin becomes dark.
- Letters fade near the spine
- Words become partially visible
- Contrast drops dramatically
What looks “readable enough” becomes a guessing game during typing.
Special Tip (When Digitization Is the Goal)
If the book is a spare copy and not rare or archival, I sometimes gently remove the spine — with client permission.
Once the binding is cut, every page becomes completely flat.
- No gutter shadow
- Even contrast
- Faster scanning
- Higher typing accuracy
“Digitization sometimes requires sacrificing a spare copy to preserve the content permanently.”
This should never be done to rare or borrowed books — but when digitization is the priority, sacrificing a spare copy can permanently preserve the content.
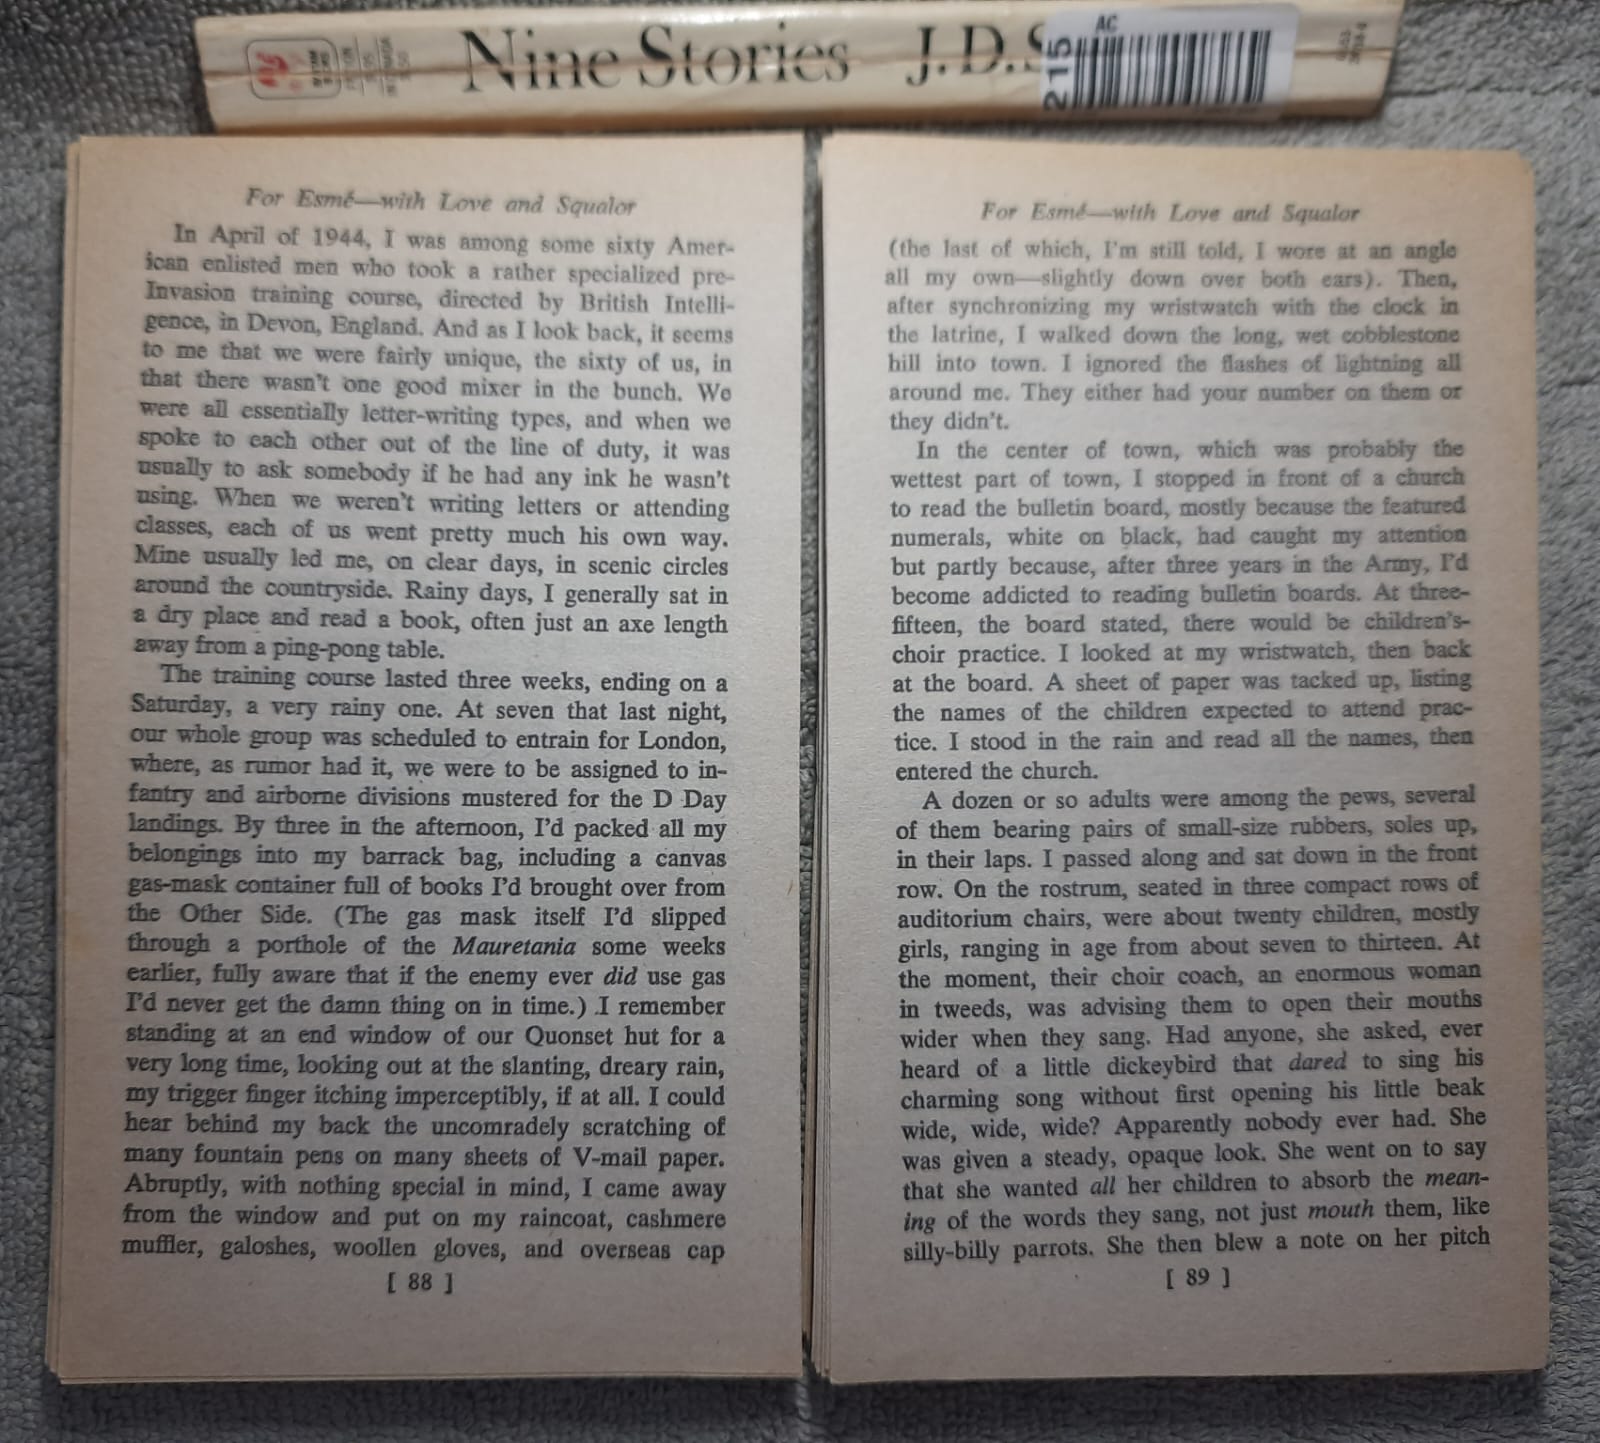
Bleed-Through from Thin Pages
Many older publications use thin paper. When scanned, text from the back side becomes visible. OCR software struggles. Manual typing slows down.
Proper contrast adjustment and lighting reduce this significantly.
Yellow Pages and Faded Ink
Aging paper loses contrast. Ink fades. Poor scans exaggerate the problem, causing character substitutions and missing punctuation.
Clean scanner glass and balanced lighting make a noticeable difference.
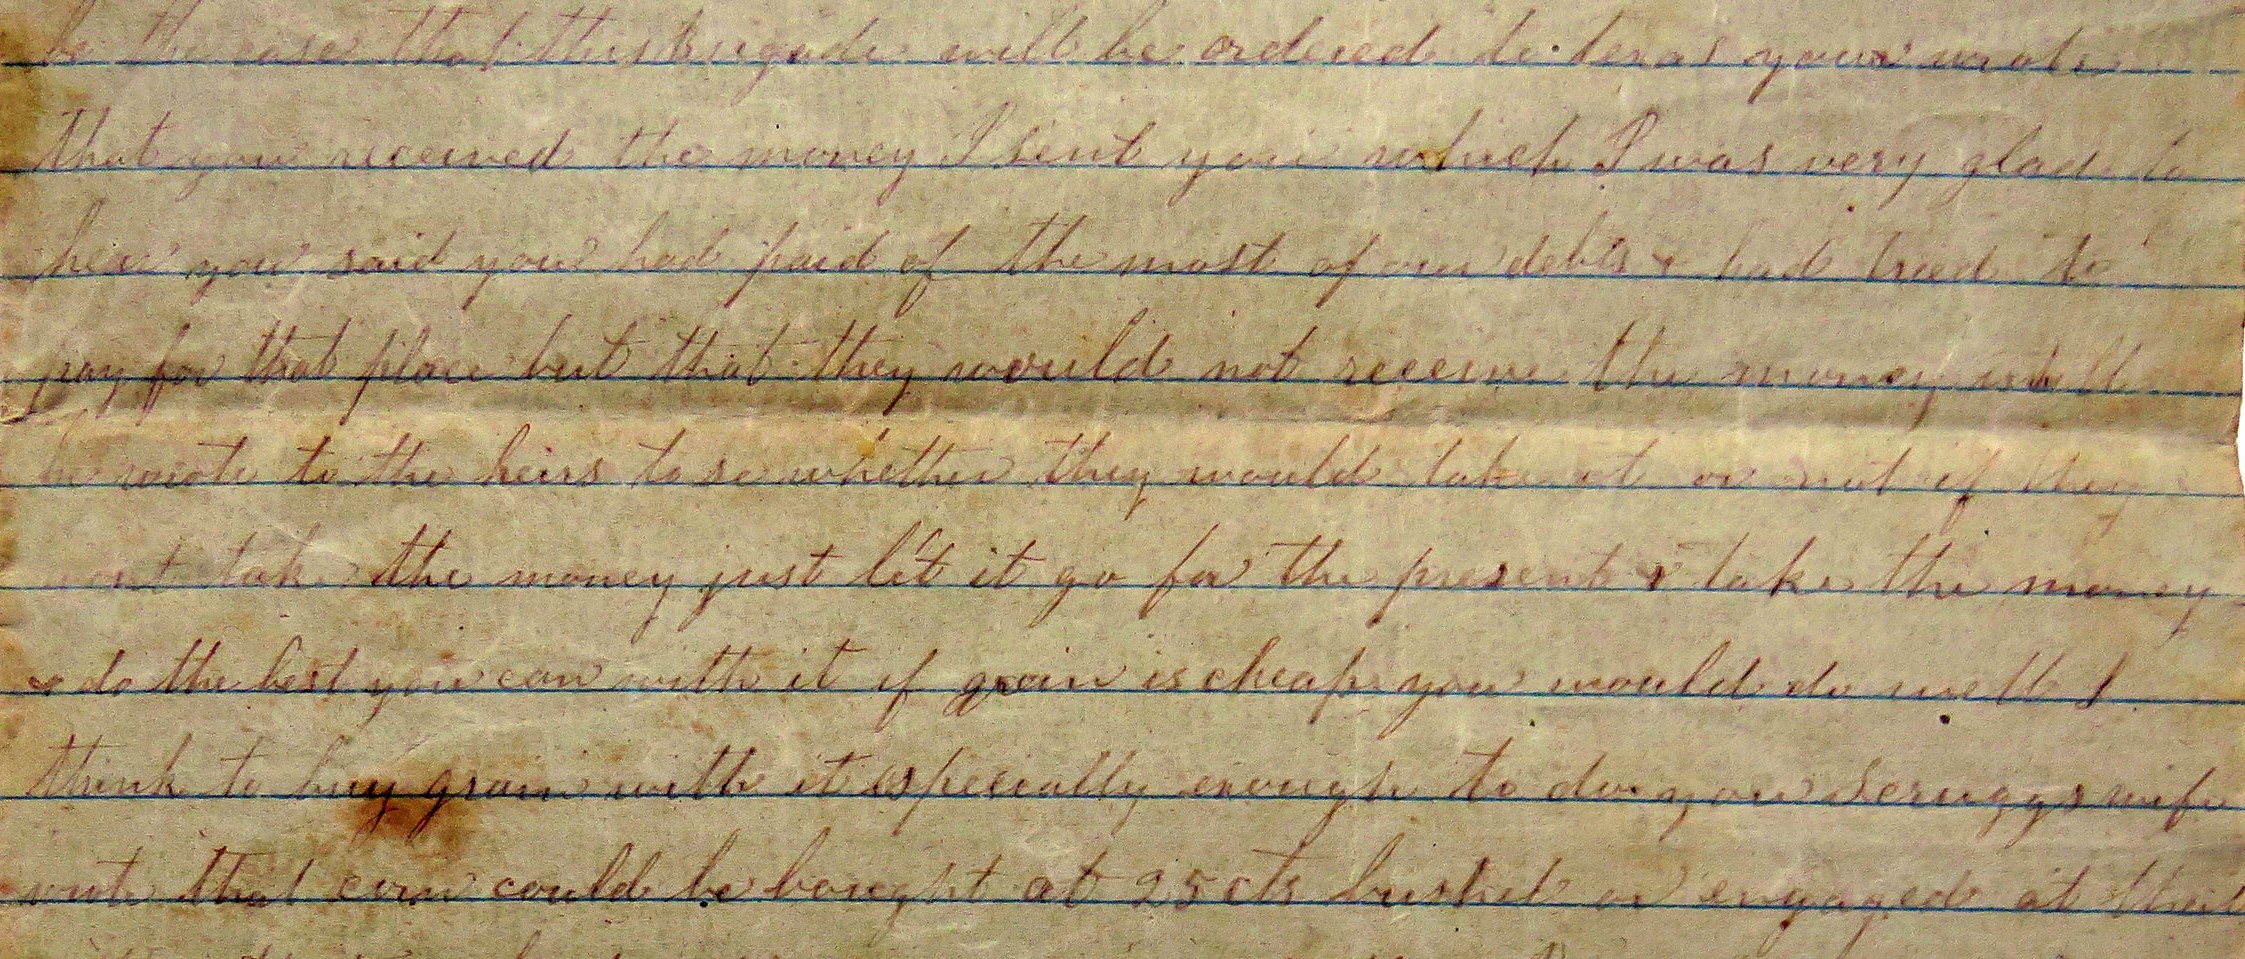
Handwritten Pages Need Preparation Too
Handwritten material also requires care.
- Keep pages flat
- Use neutral background
- Avoid hand shadows
- Maintain even lighting
Small preparation steps dramatically improve clarity.
Common Mistakes People Make
- Using flash directly on glossy pages
- Scanning at very low resolution
- Cutting page numbers while cropping
- Not checking sample pages before scanning hundreds
Once poor scans are created, quality is permanently limited. Before scanning, test a few pages and zoom in at 100%.
If you struggle to read it clearly on screen, the typing process will struggle too.
Questions or Clarifications?
If something in this article raised questions — about scanning quality, OCR limitations,
or preparing documents for typing — you're welcome to reach out.
I’m always happy to clarify practical issues or explain details related to document
conversion and typing.
You can email me at
dollartypingservice@gmail.com.
Continue Reading
In Part 3, I break down the practical reality of mobile phone scanning versus flatbed scanners — when a phone is perfectly fine, when a scanner is safer, and why lighting and technique matter more than the device itself.
➜ Read: Mobile Phone vs Scanner — What Actually Works in Practice